
I think I mentioned before that I was working on an altered clipboard - well, after many hours of work, and several changes of mind when things didn't work quite as I had expected, I finished the clipboard and sent it off. It was quite traumatic entrusting my precious artwork to the vagaries of Royal Mail, but, it arrived safely and the recipient is delighted with it and is already using it regularly!
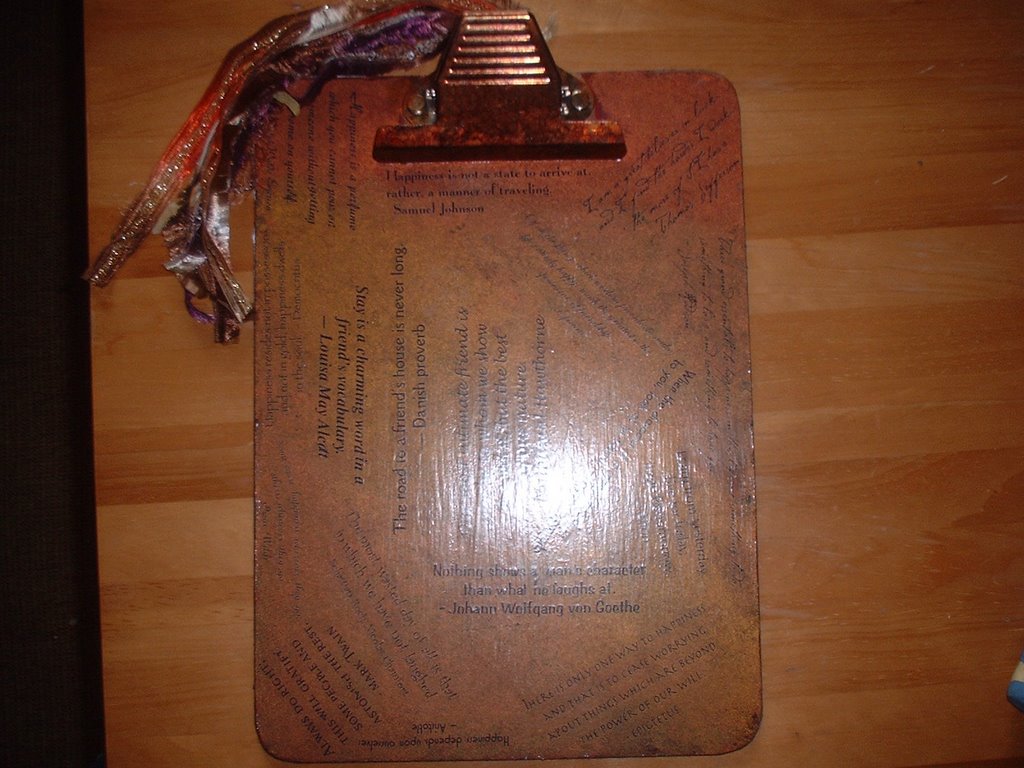
I used a plain chipboard clipboard with a silver metal clip. To start with, on the front of the board, I thought I would use shades of red through to green in a kind of rainbow effect, however, because of the colour of the base it just looked horrible, so I changed my mind, and painted over the original colours with some metallic acrylic paints, a combination of gold, silver, bronze and copper, I concentrated the copper shade nearer to the top of the board, as I wanted a less intrusive colour for the rest of it. I had already decided on a happiness/friendship theme for the 'business' side of the board, and used a collection of quotes on these subjects to embellish the board, I used rub-ons in various font-styles, but all in black print, and applied them at random angles all over the front of the board - my reasoning for this was that whichever way the board was being held, there would be something to read! I then sealed this with 3 layers of mod podge, then another 3 layers of Ronseal diamond varnish in a satin finish - this will protect the board through ordinary use.
For the back of the board, I decided on a collage of images of vintage women. I found a selection that I really liked, and spent several very happy hours arranging and rearranging them until I got a design I was happy with. Originally, I had intended to make the collage in portrait orientation, but soon realised that it would work much better if it were landscape. In amongst some junk mail recently, I had some which had a fab 70's floral design paper, the colours of which worked really well with the images I had chosen. I printed my chosen images onto copier paper and cut or tore each one to the shape and size needed, I then placed them in position on the board, a bit more re-arranging, and finally - the finished effect. I then lifted each piece individually, applied a layer of bookbinding glue to the back, and replaced it in it's final position. Once all the pieces were stuck firmly, I sealed them with 3 coats of mod podge, which also had the effect of aging the pictures - definitely serendipitous!
The silver metal clip, I attacked with 3 shades of alcohol inks and some gold pen - applied these with a felt pad and built up the layers until I was happy with the colour and effect. The finishing touch was a collection of ribbons and fibres. I was delighted with the overall result - when I started the project, I had serious doubts about what I was going to be able to produce - but I was so happy with it, I'm planning on doing another in the near future!!
No comments:
Post a Comment